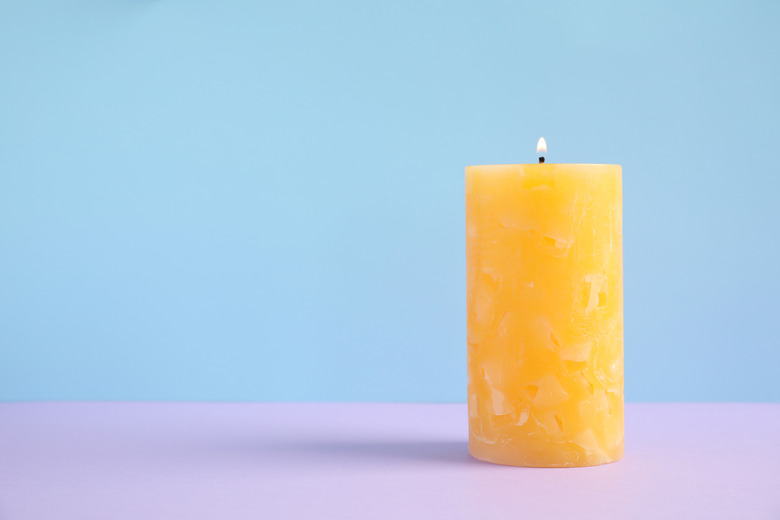
21 Simple Weather Experiments To Do With Children
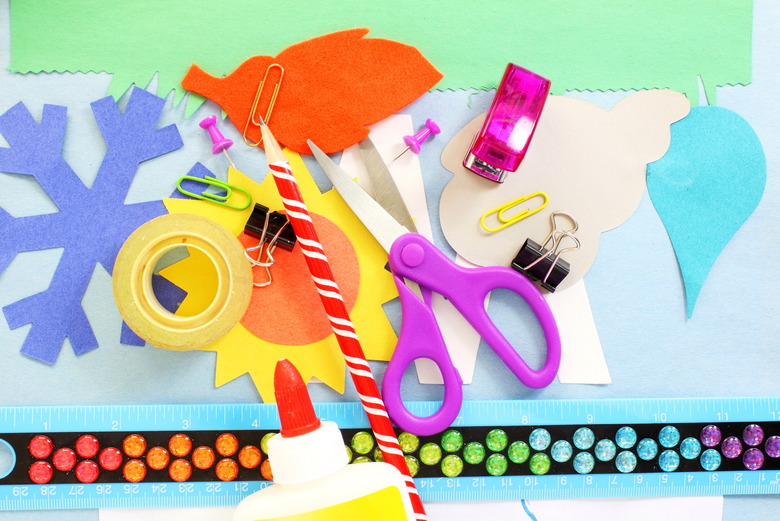
To young learners, science may not have the same obvious appeal as recess, free reading period or lunchtime. However, by studying the weather — a natural phenomenon children encounter every day — at home, you can pull sky-high scientific processes down to earth. Soon enough, there are convection currents in the living room, precipitation in the kitchen and the water cycle marked on the washroom window. Follow along with these simple and fun weather experiments you can do at home.
Tornado in a bottle
For this classic weather demonstration, you will need two plastic 1-liter bottles, a pitcher of water, a metal washer and duct tape. First, clear your bottles of any labels. Then, pour water from your pitcher to nearly the top of one of the two bottles. Next, place a metal washer onto the mouth of the bottle. For best results, choose a washer that fits snuggly. Grab the second bottle and tape the two together using duct tape, then flip them over. A tornado-like water vortex will retreat from the top bottle to the bottom. Add color with lamp oil, bubbles with dishwashing soap or mock debris with small styrofoam balls. Educate your child on tornadoes and other extreme spring weather phenomenons.
Weather-predicting pine cones
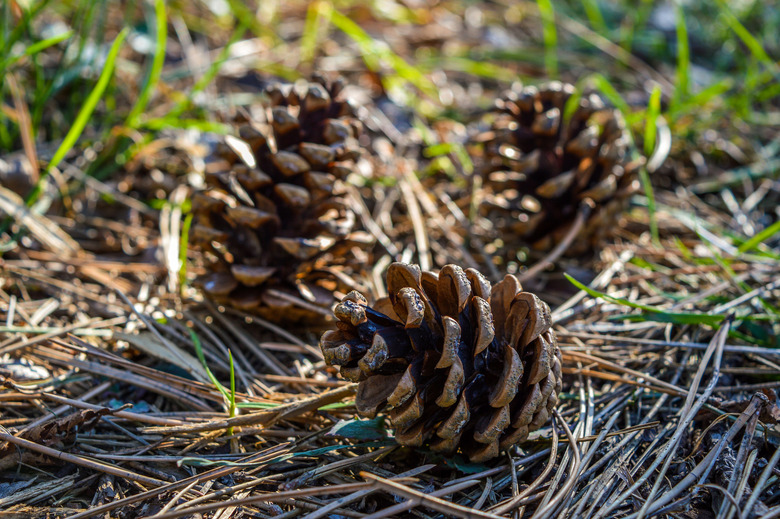
Best save this cold-weather science experiment for autumn. Trek to your backyard or nearby park to collect two freshly fallen pine cones. At home, place each pine cone into a jar. Fill just one jar with water. Note the time and observe how the two pinecones react to their respective environments, one dry and another submerged in water. Soon, the pine cone in water should tighten and close while the dry pine cone may exhibit seemingly no changes. The reason? Pine cones close in wet or humid weather to prevent the washing away of their seeds. In dry weather, the pinecones open so that their seeds may be picked up and carried by the wind. Hang a pinecone somewhere outdoors and watch it predict the weather.
Lightning in a pie pan ...
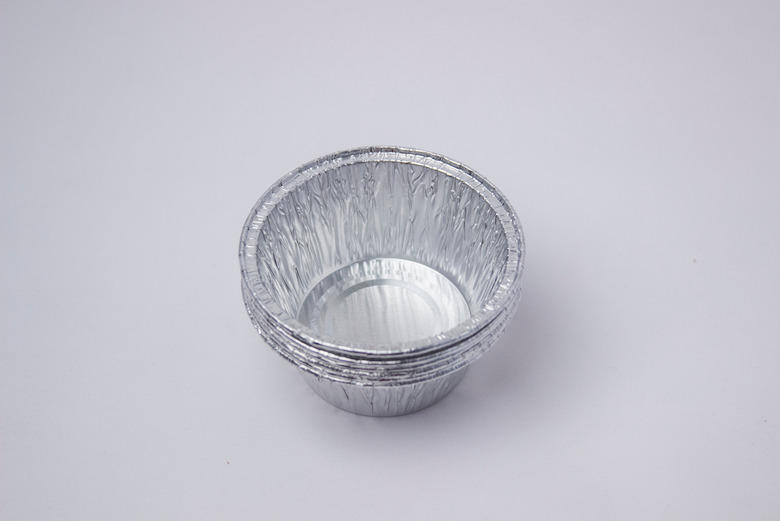
Lightning, weather's most photogenic feat, can, like rhubarb or cherry, be cooked up in an aluminum pie pan. First, gather the other necessary materials: a small piece of wool, a styrofoam plate, a pencil with a new eraser and a thumbtack. From underneath the pie pan, push the thumbtack through its center from the bottom. Next, push the eraser end of the pencil into the thumbtack. Place the styrofoam plate upside down on a table and rub underneath it with the wool for a few minutes. Quickly, using the pencil as a handle, pick up the aluminum pie pan and place it on top of the styrofoam plate. Prepare for a shock as you touch the pie pan with your hand. Now, turn off the lights and touch the pie pan again. See any sparks? That's static electricity. The negative charges from your fingers, like the clouds in the sky, are attracted to the positive charges in the ground.
… Or in your mouth
If without a pie pan or styrofoam plate, no worries, make a lightning bolt in your mouth. Grab some minty-flavored lifesavers before heading into a dark room and standing in front of a mirror. Wait a few minutes until your eyes adjust to the lights, keep your mouth open and then place the lifesaver in your mouth and break it with your teeth. Note: Be careful not to bite down too aggressively as to damage a tooth. Should the mint break into pieces, you should see bluish flashes of light. In this case, the sugars in the mint release little electrical charges that are attracted to the oppositely charged nitrogen in the air. The two meet and react in a tiny spark. For another food experiment, place a grape in a microwave and watch it explode.
Bending water
All you need for this water-bending trick is water, a comb and a piece of wool or nylon. Rub the comb against the fabric, then hold it near and parallel to a trickle of water from a faucet. The negatively charged comb will attract positively charged water, bending the water toward the comb.
Convection current thunderstorm in a plastic container
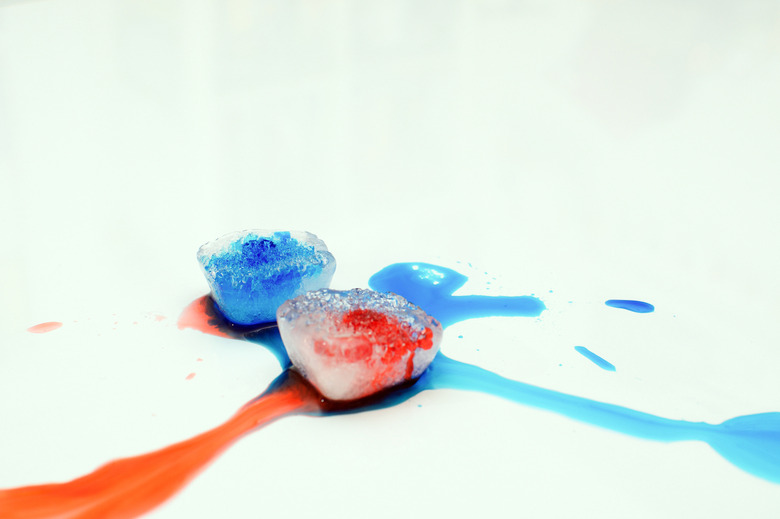
Gather a shoebox-sized clear, plastic container, ice cubes and red and blue food coloring. Freeze water dyed blue with food coloring until it turns to ice cubes. Fill the plastic container two-thirds with lukewarm water and let sit for a minute. Place one blue ice cube at one end of the plastic container and add three drops of red food coloring to the water at the other end. Soon, the cool blue water will sink as the warmer red water rises. Like the warm red water, bodies of warm air in the sky are forced to rise when approaching a cold front, causing a thunderstorm. While water falls during a thunderstorm, other crazy things have rained from the sky before too.
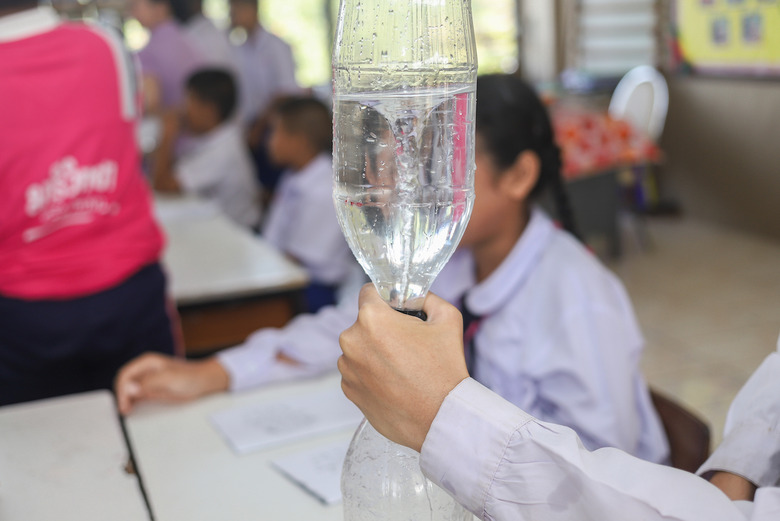
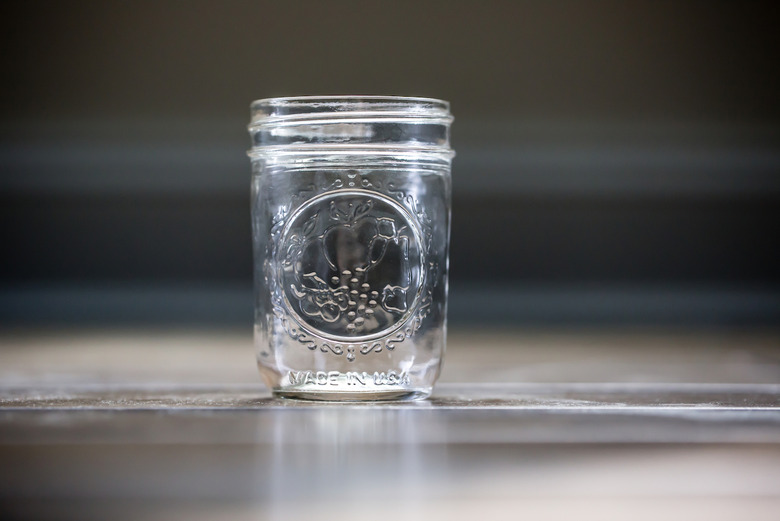
Portable cloud
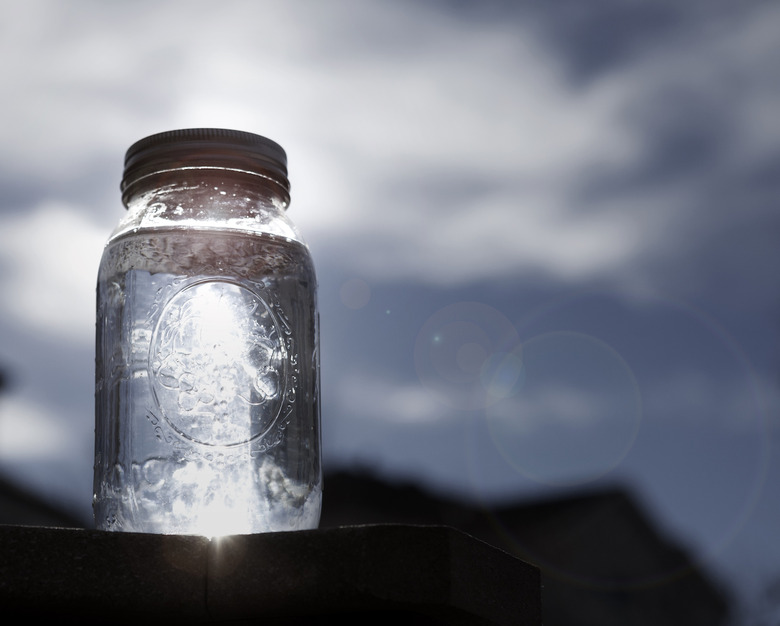
Catch a falling cloud and put it in a mason jar. For this, you will need a rubber glove, matches, a rubber band and a gallon-sized jar. First, pour 100 ml of cold water into the jar. Swish the water around the jar's sides to ensure enough moisture to form a cloud. Then, put a rubber glove on one hand and light two matches. Wait a second for the still-lit matches to smoke, then drop them into the jar. Insert your gloved hand into the jar and cover the rim with the excess glove fabric or a rubber band. Pull your hand up and down in the jar. As you lift your hand, the volume in the jar increases while pressure and temperature decrease. This causes the water vapor to condense onto the smoke particles, forming a cloud.
Conduction junction
Conduction is the transfer of heat by the collision of molecules moving rapidly. To observe this at home, grab a paper cup, a lit candle and serving tongs. Fill two-thirds of the paper cup with water. Using the tongs to securely carry it, hold the cup about 2 inches above the candle's flame. Allow the water to steam, but notice the paper cup never catches fire. Here, the paper cup acts as a conductor, transferring the heat from the air to the water. When the earth's surface warms, heat is similarly transferred from the earth to the air right above it.
Measure the sun with a pinhole viewer
To build a simple pinhole viewer, cut a 3/4-inch by 3/4-inch square from the center of a piece of cardboard. Cover the square with aluminum foil and tape, then puncture a small hole in its center using a pin or thumbtack. To measure the sun, head outside. Hold the pinhole viewer so the sunlight passes through the hole and falls onto a white sheet laid on the ground behind you and the viewer. Measure the diameter of the projected sun on the paper and distance from the pinhole to paper. Divide those two and multiply the answer by the earth's distance from the sun (93,000,000 miles), and there you have it, the diameter of the sun. Keep an eye toward the sky all year for must-watch astronomical events from supermoons to eclipses.
Make a rainbow
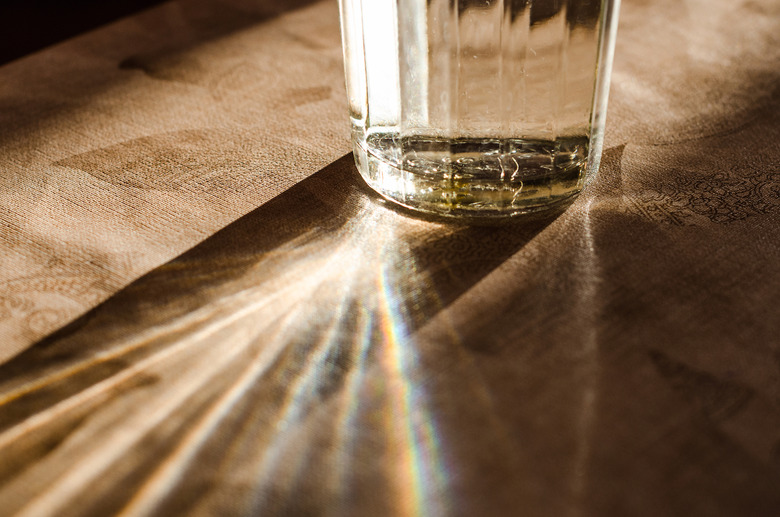
Demonstrations don't get much simpler than this. You have likely even found yourself conducting this experiment on accident on a warm and sunny day. Fill three-fourths of a glass with water and move all your supplies (the glass and a white sheet of paper), toward a sunny window. Place the paper on a nearby table or windowsill and hold the water glass above it. Watch as the sunlight passes through the glass, bends and forms a rainbow on the blank page. In the sky, rainbows form when sunlight refracts or bends just like it did when it passed through the water and onto your paper. Do not be fooled, there are more colors to a rainbow than the six or seven you can see with your eyes. That's just one weather myth to stop believing.
Homemade thermometer

While this simple thermometer won't measure the exact temperature, it will demonstrate temperature change. All you need is a plastic water bottle, modeling clay, a clear straw, food coloring and rubbing alcohol. Note that passing on plastic water bottles or straws entirely are two ways to be more sustainable, so be sure to recycle all plastic materials after completing the science experiment. Now, back to building your thermometer. Mix equal parts (2 1/2 fluid ounces each) cold water and rubbing alcohol then pour into a 20-fluid-ounce water bottle. Next, add a few drops of food coloring. Insert the straw into the bottle so it hovers a few inches above the bottom. Secure the straw in place with modeling clay and watch as water soon rises into the straw. As you place the homemade thermometer in cold or warm water, water will rise and fall in the straw.
Water cycle in a bag
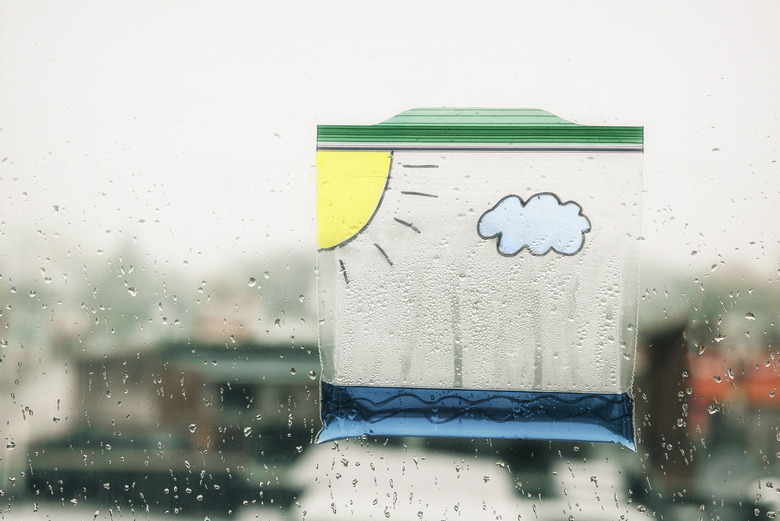
Zip-lock bags are for more than school lunches and work-day snack breaks. Using a permanent marker, allow kids to draw a sun, clouds and ocean waves onto a plastic snack bag. Fill the bag with just a fourth cup of water and add a few drops of blue food coloring. Seal the bag and hang it against a window using tape. Soon, the sun's heat will cause the water to evaporate, cool and then condense into small rain-like droplets. The same occurs in nature. The sun heats beautiful bodies of water, causing the vapor to rise and, when it reaches cooler air, condense to form clouds. Clouds full of water then release water in the form of precipitation.
Water cycle in a jar
If jars are more your speed than bags, you can also demonstrate the complete water cycle in a jar. You will need a repurposed glass jar, a ceramic plate, four ice cubes and hot water. First, pour 2 inches of hot water into the jar. Then, cover the jar with the ceramic plate face up. Take a three-minute pause before putting the four ice cubes atop the plate. Like in the bag, the cold plate causes the moisture in the warm air inside the jar to condense into water droplets. To mix up the experiment, try testing different plate materials or water temperatures. Have children hypothesize which they believe will work best.
Paper plate wind vane
Energy in motion, like wind, is called kinetic energy. Changes in air pressure produce winds all around the world that can be measured using wind vanes. To build your own, gather two paper plates, a plastic straw, a pencil with a new eraser, a pin and modeling clay. First, cut parallel slits on each end of your plastic straw. Next, on sturdy paper, draw and cut out the shapes necessary to make an arrow; two triangular front-ends and two more two-pointed tails. Stick the shapes through the slits on each end of the straw. Gently press a pin through from above through the straw's horizontal center and into the pencil eraser, allowing enough room for the straw to spin. Next, flip a paper plate over and mark its center and the four cardinal directions. Use the pencil to poke a hole through the plate's center and into a mound of modeling clay placed on another paper plate below. Mold the clay around the pencil to secure it in place, then glue the two plates' rims together. Your wind vane is now ready to head outside for wind-measuring fun.
Crystal snowflakes
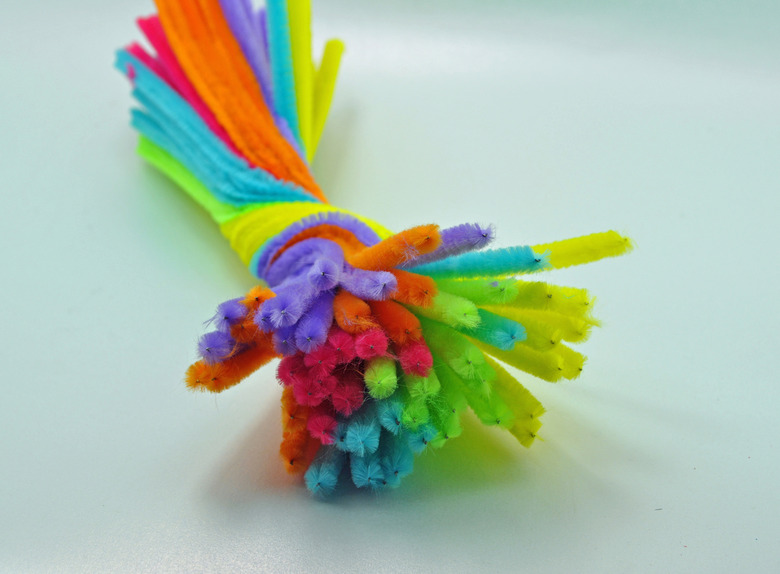
While residents of the snowiest of states may not be in the market for any more snow, others can experience the magic at home. All you need is a string, a wide-mouthed jar, white pipe cleaners, boiling water, borax and a pencil. Cut your pipe cleaners into three sections of the same size, then twist them at the center to form a six-sided star. Next, fill a jar with boiling water. For each cup of water added, add 3 tablespoons of borax. Stir well and then add a few drops of blue food coloring. Then, after tying your pipe-cleaner snowflake to a pen with string half the length of your jar, lower it into the solution, allowing the pen to rest on the mouth of the jar. Leave overnight and wake up to crystals all around your snowflake.
Backyard sundial
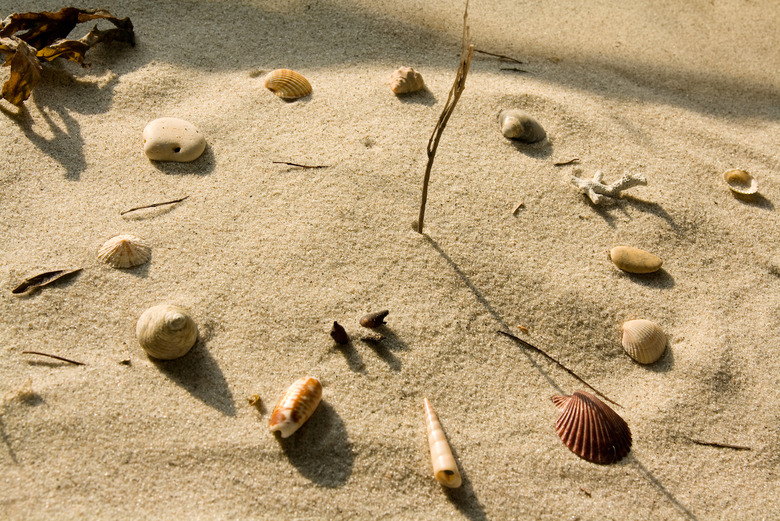
Before even beginning this experiment, send kids on a hunt for a 2-foot-long stick. Once found, push the stick vertically straight into the grass, earth or sand below (this experiment makes for a safe and fun beach day activity.) Starting early in the morning, mark the place where the stick's shadow falls using a pebble or seashell. Come back every hour and mark the shadow's progress using more pebbles. Consider labeling each rock with chalk or a sticky note to tell what time you placed it down. Because Earth is constantly rotating and revolving around the sun, the stick's shadow changes place. By the end of the day, as the earth completes its rotation, you will have a complete, hourly marked sundial.
Colorful convection currents
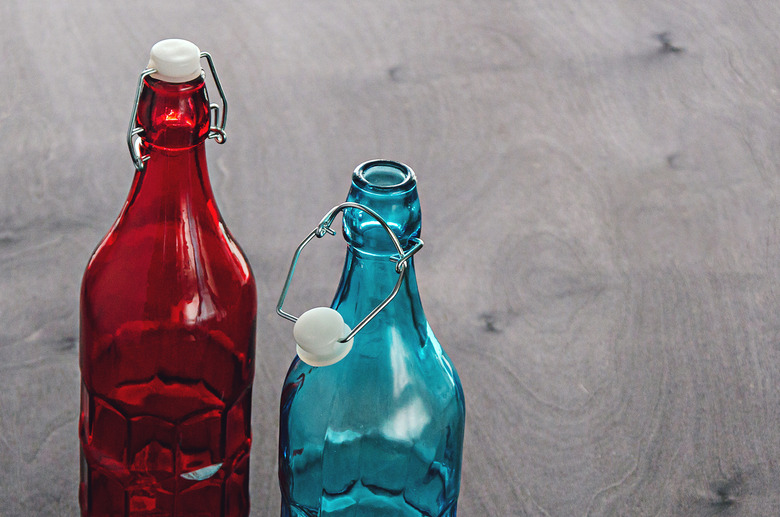
This experiment requires a little sleight of hand, and consequently, a bit more adult help. You will need two wine-bottle-shaped containers, food coloring, water and a single playing card. Fill both bottles to the brim with water, one hot and one cold. Add yellow food coloring to the warm water and blue to the cold water. Now, prepare for potentially major spillage. Using the playing card as a stopper, turn the hot water bottle upside down and place it atop the bottle with cold water. Slide-out the card separating the two liquids and watch as the colors stay put in their original jars. Re-do the experiment, this time with the cold bottle placed on top of the hot bottle. Notice the colors mix and turn green. This is another case of convection as warm and cold air masses collide. During the first trial, the cold blue water stayed on the bottom and didn't mix with the yellow. Like during the winter, higher density cold air was trapped close to the earth with a warmer blanket of air sitting on top. Trapped between is a layer of stagnant, often polluted air known regionally as the brown cloud. To help stem pollution, improve your carbon footprint.
Ping pong pressure
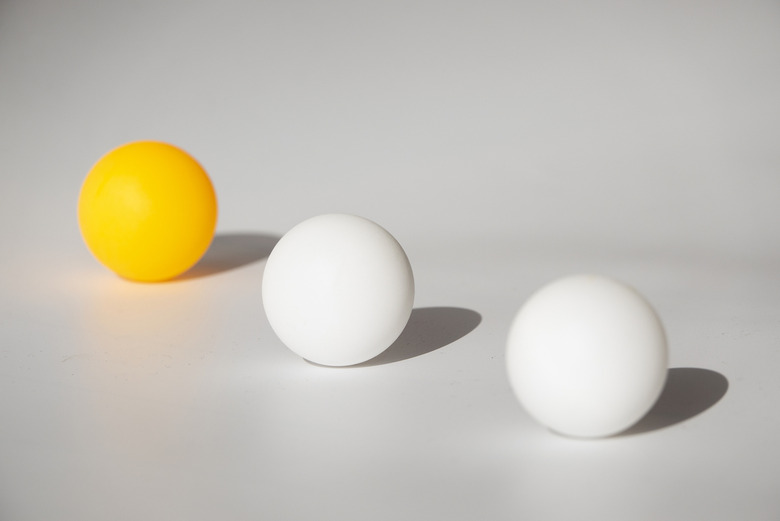
Gather 'round your hairdryer, two pingpong balls, two straws and some model clay. Place each straw into a lump of clay so they stand upright. Next, mold more clay around the base of the pingpong balls and place each on top of a straw. Turn on the hairdryer and aim it directly at the few inches in between the two pingpong balls. The principle that draws the two pingpong balls together gains its name from Daniel Bernoulli, a Swiss mathematician and physicist. Bernoulli observed that fast-moving air creates an area of low pressure. Therefore, the low-pressure area formed between the balls allows for them to be pushed toward each other by higher pressure outside them.
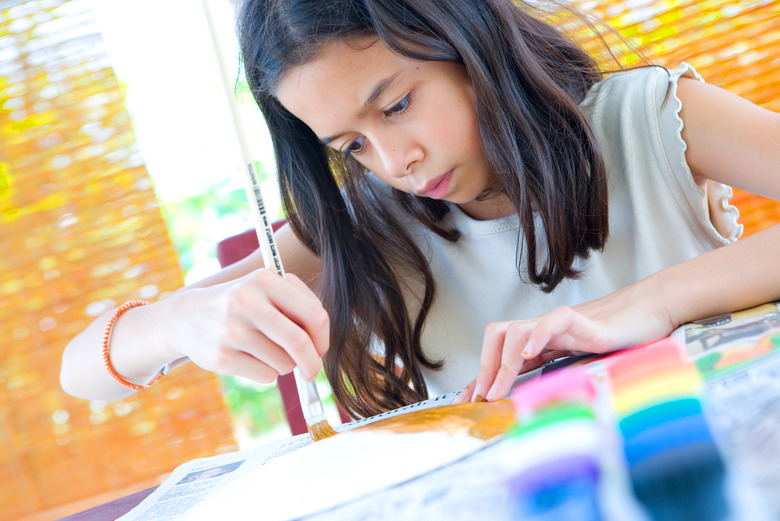
Puffy paint clouds

More arts and crafts than an experiment, this weather activity still has much your child can learn from. Using either store-bought or homemade puffy paint, have children paint the various sorts of clouds they see in the sky — stratus, cirrus, cumulus and cumulonimbus, etc. Teach them the names, shapes and tips for telling them apart during the day. Take the time to get into the science of common weather proverbs like "the higher the clouds the finer the weather."
Hurricane in a bowl
This doable demonstration requires no more than a large clear bowl, water, a spoon and drops of food coloring. Fill the bowl three-fourths of the way with water and stir. As the water begins to rotate, add a few drops of food coloring to the bowl's center. The coloring will spiral and spin in the shape of a hurricane before dispersing as the water rotation slows to a stop. Like a hurricane, the colors disperse in bands that circle around the system center. Unlike in this demonstration, a hurricane's spiral movement is not started by the stir of a spoon. Hurricanes form when warm, moist air over the ocean rises upward. Then new air moves in and warms and rises, creating a constant movement and storm spiral capable of turning to extreme natural disasters.
Snowstorm in a jar
For this final project, gather baby oil, white paint, blue food coloring, glitter, Alka-Seltzer and a mason jar. Fill the jar three-fourths of the way with baby oil then add glitter and food coloring. In a separate container, mix water and a few tablespoons white paint and add the mixture to the jar. Finally, drop an Alka-Seltzer tablet inside and watch as the snow falls. Though impressive for an at-home science experiment, this small flurry cannot compare to the most insane winter storms in U.S. history.
More From The Active Times
21 Simple Gardening Tips for Beginners
Dressing In Layers Keeps You Warm and 15 Other Cold Weather Myths, Debunked
35 Healthy Habits That Keep You Young