Yoga For Snowboarders: 7 Poses To Build Strength
If you're looking to prepare your body for an incredible winter adventure on your board or to recover from a long day on the slopes, you should consider adding yoga to your routine. It's best to find a class with an experienced yoga instructor, especially if you are just starting out. While you can find lots of yoga tutorials and routines online, having a person who can correct your posture ensures you are holding the poses correctly. That means you will get the most out of the stretch and lessen the chance you will hurt yourself.
Even a simple yoga practice can help you build strength, improve balance, and recover after a tough day. Incorporating a mindful yoga practice into your day-to-day life can also help you learn more about your body and the way it works. Many yogis find that stretching and breathing exercises help reduce some of the stress they feel, which helps them find that zen feeling you may already know and love when you hit the zone on your board.
Benefits of yoga for snowboarders
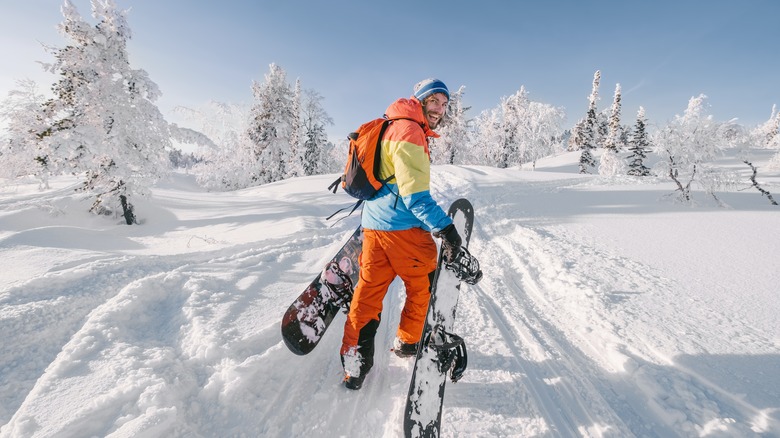
Yoga is good for a snowboarder's mind and body. In addition to the core muscles that keep you balanced on the board, the quads (front of the thighs) and hamstring muscles down the back of your legs get a major workout from turning and maneuvering your way down the hill. There is nothing quite like that post-snowboarding ache to remind you of your day spent in the snow, and there's nothing like yoga to help head it off. Most poses don't require any special equipment, so whether you are snowboarding in Hokkaido or just at the local hill, you don't need to haul extra gear.
Gentle yoga stretches work to relieve the build-up of lactic acid in your muscles after intense use. A yoga session following your day on the hill can reduce some of the aches, but a regular yoga practice before you even step into your bindings will help make your muscles strong and limber, meaning you can avoid some of that soreness in the first place. Before you gather your gear for your first big day on the mountain this season, try these yoga poses to improve your strength and flexibility.
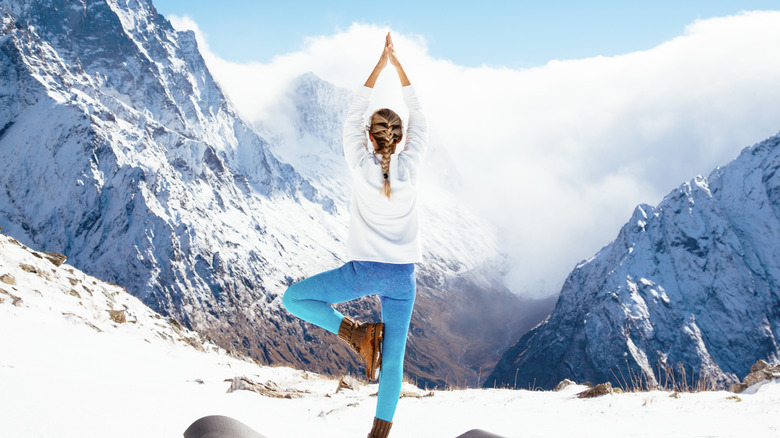
Tree pose
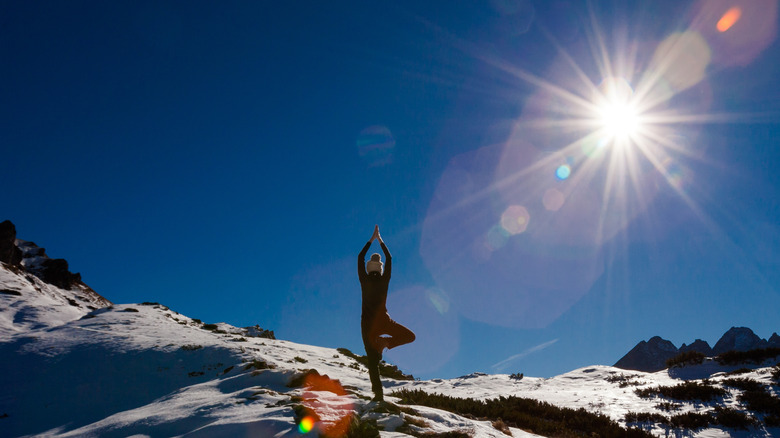
To both improve balance and increase core strength, it's tough to beat the good, old tree pose. This beginner pose can be varied for more or less of a challenge, depending on your skill level and experience.
How to: From standing, bring your hands in front of heart center in prayer, then pull your left foot up your right leg. If yoga is new to you or you don't have excellent balance, you can press the sole of your left foot against your right leg, just above the ankle, or leave your toes resting on the ground. Raise it to your calf if you are more comfortable with the pose, or all the way up to your inner thigh for more of a challenge. Make sure your foot is either above or below your knee. Never press your foot into the side of your knee, as you can injure yourself. Raising your hands over your head, as in the picture, offers a greater balance challenge. Breathe through the pose and then repeat on the other side.
Chair pose
Chair pose is a great beginner pose for building up strength in the legs and core and helping with balance and stability. Since the pose employs many of the large muscle groups used on the mountain, it's a great pose to start with.
How to: Begin by standing straight up with big toes touching and heels slightly apart. Bend your knees and lower your tailbone towards the floor in a semi-squatting position, as though you are sitting in an invisible chair. As you do this, lower your shoulders and reach your arms in a straight line from the shoulder over your head. If you are having trouble balancing, you can direct your gaze to a stationary spot in front of you. Breathe long and deep, keep your eyes up, and stay relaxed. Starting out, you may find you don't feel comfortable squatting low. That's fine. Once you are ready for more of a challenge, lower your bum towards the floor into a deeper squat.
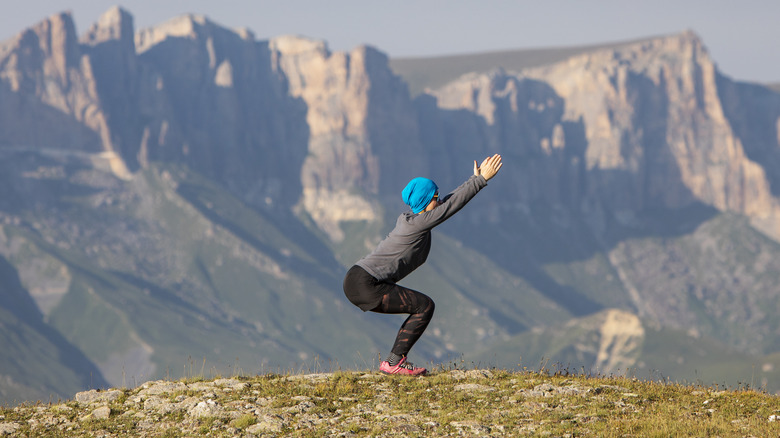
Revolved chair pose
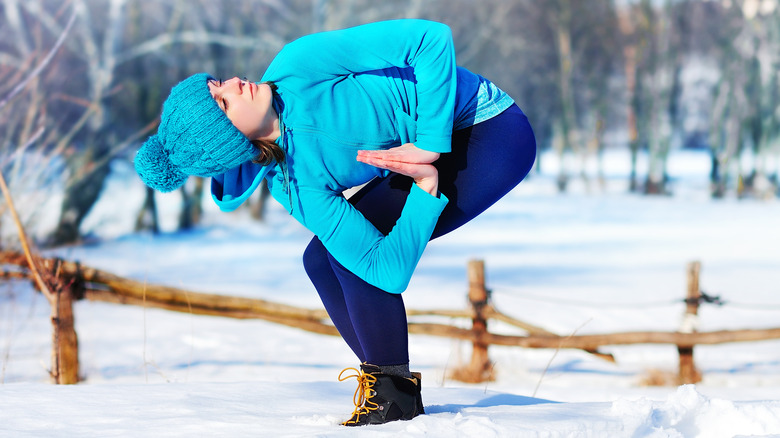
For the same strength-building benefits, particularly in the large muscle groups of the legs as you get from chair pose, add a twist for greater lower back flexibility. The revolved chair pose requires greater effort than the chair pose, but if you are a person who tends to carry aches in your lower back, this pose is worth the work.
How to: From the lifted arm/squatting position of chair pose, lower your arms to heart center, palms together as in prayer. Twist your torso to the right so your left elbow is pressed against your outer right thigh. Direct your gaze to the sky as you hold the position and breathe, then repeat on the other side, with your right elbow against your left leg.
If you would like to add a balance component to the stretch, try the intermediate pelican pose. From your twisted position, bend the leg your elbow is not resting on back from the knee. The resulting one-legged balancing position resembles the stance of a pelican (or a flamingo if you ask me, which nobody did.)
Eye of the needle pose
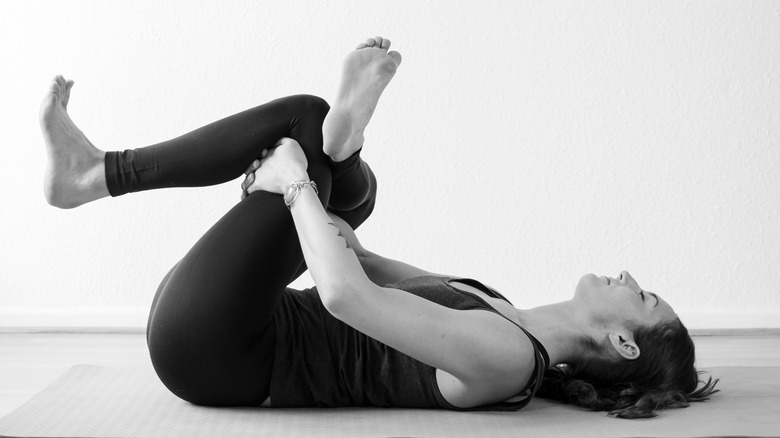
The eye of the needle pose is excellent for loosening up the muscles in your lower body that get worn out on the mountain after a day carving up the hill. This beginner pose, also called supine pigeon or somewhat horrifyingly "dead pigeon," will help with flexibility and recovery in the lower back, glutes, and hamstrings.
How to: Start flat on your back with your knees bent and feet flat on the floor. Ensure the small of your back is pressed into the ground. Lift your right ankle to rest just above your left knee. Slowly and carefully, press your hips downward. Keep your head up, eyes to the sky. Remember to breathe out while you bring your left knee toward your chest. If you can, reach your arms through and use them to bring your left leg in further — but stop if you're in pain. Your goal is a gentle stretch — a sharp or sudden pain means you are pushing your body too fast. Inhale and exhale slowly and then switch legs.
Half splits pose
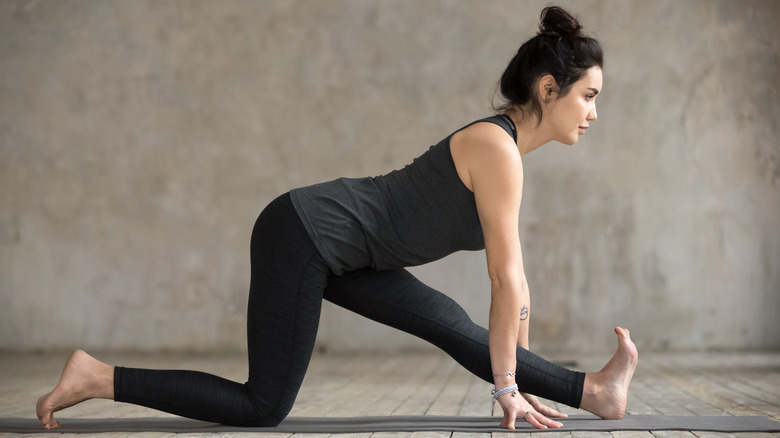
Don't let the simplicity of this beginner pose trick you into thinking it's easy. Traditionally used as a pose to ready the yogi for the full splits, the half splits pose is an effective exercise on its own, even if you don't progress further. This pose is great for improving flexibility in your lower back, hips, and hamstrings — those spots that get a real workout when you hit the slopes.
How to: Starting from a lunge position, lower your left knee to the ground and place your fingertips on the ground on either side of your right leg. Straighten your right leg in front of you, raising your toes to flex and engage the stretch along the back of your leg. Try to keep your hip in line with your back knee. Slowly fold your chest forward until you can feel it in your back. Keep your gaze straight ahead while you concentrate on your breath. Return to a lunge then switch legs.
High lunge pose
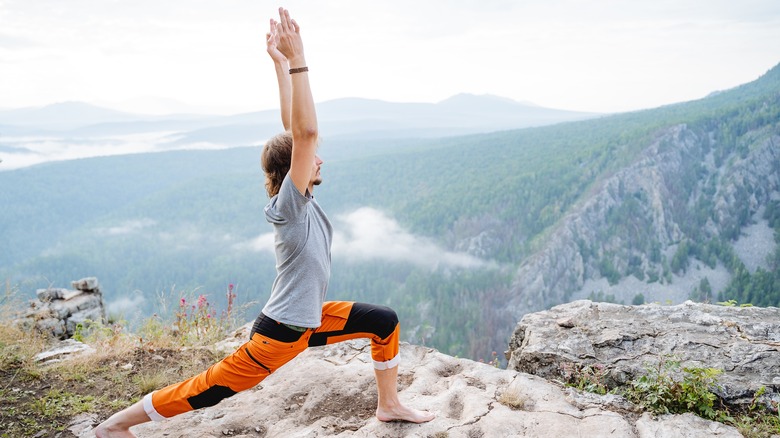
A great choice for building up lower body strength, the high lunge also helps riders with their balance and gives the hip flexors a good stretch. This pose is a variation of warrior 1; some people find high lunge easier. High lunge is considered more accessible because your arms stay parallel rather than palms touching, which can make your shoulders ache if held for a long time. Also, your back heel remains raised for a less intense stretch than the flat foot position in warrior 1.
How to: Starting from downward dog, move your right foot between your hands. Lift your left heel to rest on the ball of your foot. Keeping your rear heel raised, lift your upper body and arms toward the ceiling. Your weight should be distributed evenly on your feet. Allow yourself to feel strong and immovable. Direct your gaze ahead of you. Your front knee should be at about a 90-degree angle. Breathe through this pose. Try sinking lower in your hips for an increased stretch.
Downward dog pose
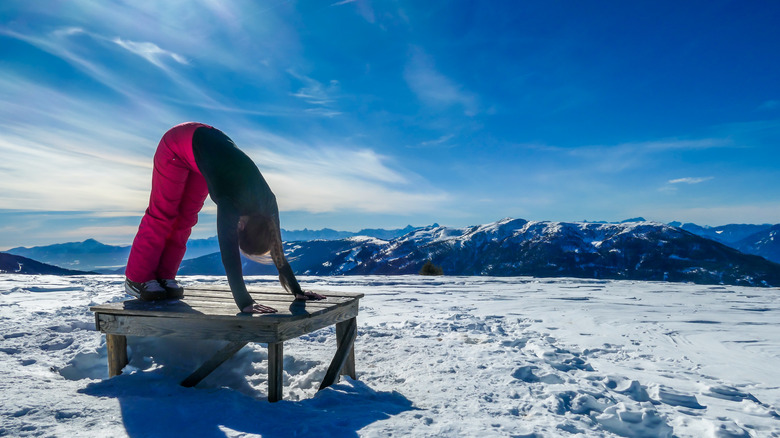
This pose is particularly helpful after a long day on the slopes, be it one of the top ski destinations in the world or not. The downward dog (or "downward-facing dog") pose is one of the foundational yoga poses from which a variety of other poses stem. Once you have mastered downward dog, there are many options to make it more challenging or engage other muscle groups, such as lifting one of your legs into the air or performing twists. This beginner pose helps stretch and strengthen the back, calf, shoulder, and hamstring muscles that tend to get a lot of use.
How to: Start on your hands and knees, with your arms straight. Your arms should make a line, with your wrists directly under your shoulders and your elbows extended but not locked. Rise off your knees so your feet are flat on the floor. Slowly shift your weight onto your hands and feet and adjust your position until your body is in the shape of an upward arrow — think of your bum as the point in an inverted v-shape. Direct your gaze towards your belly button. Relax and find your stretches while breathing. If you have sore wrists and find bearing weight on them causes pain, you can modify the pose by resting on your forearms instead of on your palms.