How To Carve Turns On Skis: 8 Steps To Follow
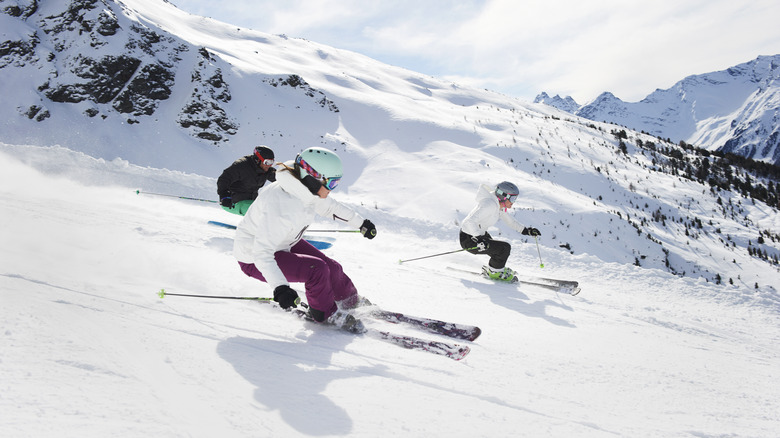
One of the key skills that skiers try to bring into their wheelhouse as quickly as possible is the use of carved turning. Rather than skidding your skis along the snow and kicking powder up all over the place, a carve lets you gracefully change directions while leveraging your agility and athleticism to perform a smooth transition that looks eminently cool and feels fantastic. You know you've made it to a new rung when you can successfully execute a carved turn. But how do these graceful maneuvers work? How can you join the ranks of experienced skiers who can confidently change direction and seamlessly make their way down a mountain's slopes?
Whether you're a longtime shredder or just strapping ski boots on for the first time, taking more confident and crisp turns while catching a bit of exhilarating speed heading down the hill will likely be high on your to-do list. Carved turns might sound like a tricky skill to bring under your belt, and while high-performance carving may be quite a ways off for novice skiers, the truth is that basic carving isn't all that difficult. Anyone can learn some rudimentary carving skills, bringing a new level of class and confidence to your repertoire! There are basically eight steps involved in learning to carve turns on skis.
What is carving?
Before we begin with the steps for learning how to carve turn, we'll first define the technique. Anyone new to the world of skiing will likely start turning with the skidded turn method. To slow yourself down as you descend the mountain, you'll need to turn back and forth. The more time you spend perpendicular to the slope the slower you'll traverse the hill. For new skiers, the skidded turn will help manage speed and provide a starting point while moving from top to bottom. A guided turn leaves the skis flat on the ground as you push the propulsion devices through the transition.
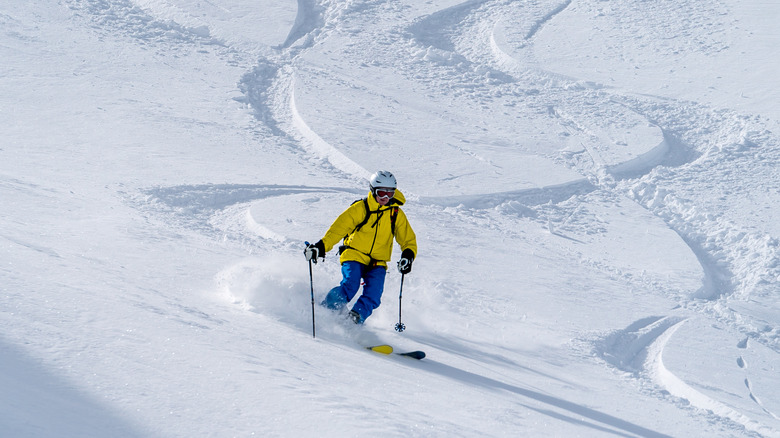
Carved turning is the next evolution in transitioning your skis from one direction to the other. A carved turn sees you tip your weight and manipulate your lower half so that the skis tilt onto their edges, allowing them to cut through the snow. The carved turn is a far more graceful maneuver and it will feel more powerful and athletic than a simple skidded turn. A carve feels a bit like you're gliding across the snow and allows for far more speed than a skidded turn.
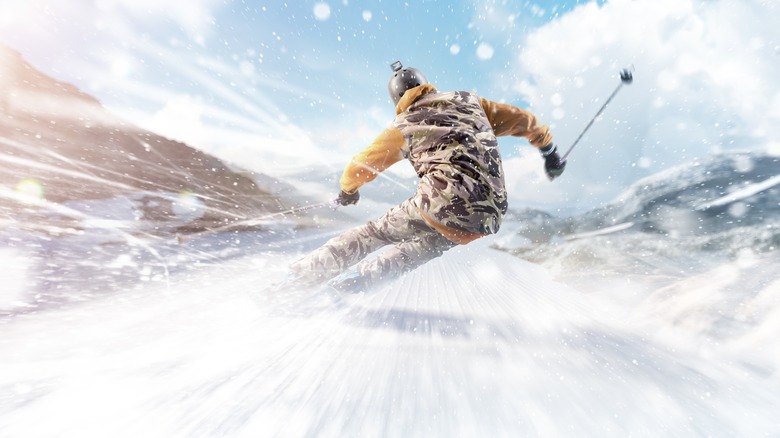
In order to hit the hill with the aggression required to fly down a steep slope, you'll need to learn to throw your weight back and forth and raise your skis up on their bladed edges to perform these carved turns. It may seem like a daunting challenge, but even a leisurely ski session can be radically improved with the use of simple carved turns. This technique will take your skiing to the next level and it starts with a few easy physical cues.
What should you do before attempting to carve?
Before you attempt to learn to carve, you'll want to consider the fitness requirements associated with more advanced skiing. Even the most passive engagement with the mountain requires baseline core and leg strength. Skiing, even in the most basic of alpine landscapes, might be likened more to running than walking. To tackle the slope, you'll need to be confident and comfortable throwing your weight back and forth over each of your legs. A solid core will also help you maintain a semi-rigid body posture that keeps your skis under your hips and within your control. These muscles in combination with your legs (as well as your arms to help with counterbalancing) keep you from falling over. In many ski environments, a fall may only see you tip into powdery snow and won't result in injury or harm. But it still isn't very fun to fall over multiple times as you make your way down the mountain.
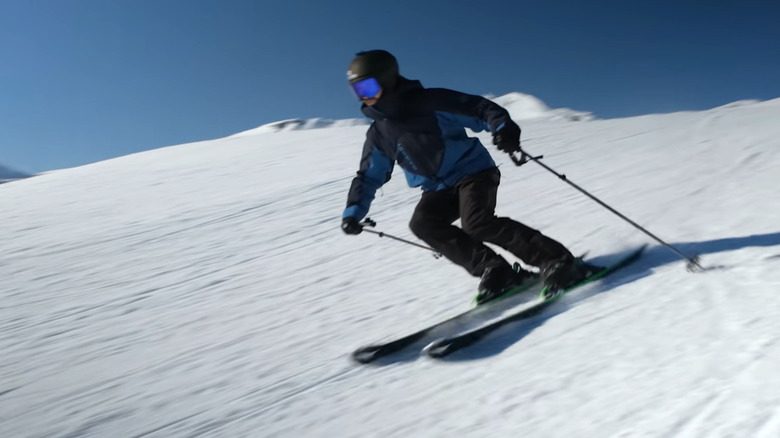
In addition to some basic strength requirements, anyone looking to introduce carving into their skiing repertoire will want to familiarize themselves with a bit of speed. As mentioned, you don't need to be moving at a blistering pace to take advantage of this technique, but carving turns and a slightly elevated pace go hand in hand. The most advanced skiers will see themselves tearing down the mountain with the help of carved turns, but more recreational enthusiasts can use this tactic to make their transitions a bit faster and smoother. Building confidence with a slightly higher pace makes for more efficient carving at any speed.
Opt for carving skis
If you're looking to take your skiing up a notch, you'll want to utilize carving skis rather than basic blades. A novice skier might purchase or rent standard skis that transition from front to back in a more or less straight line. The two edges of each ski will be generally parallel to one another and offer maximum stability to help prevent you from toppling over as you gingerly make your way down the mountain. These skis are often found in rental and packing lists for recreational skiers as a result.
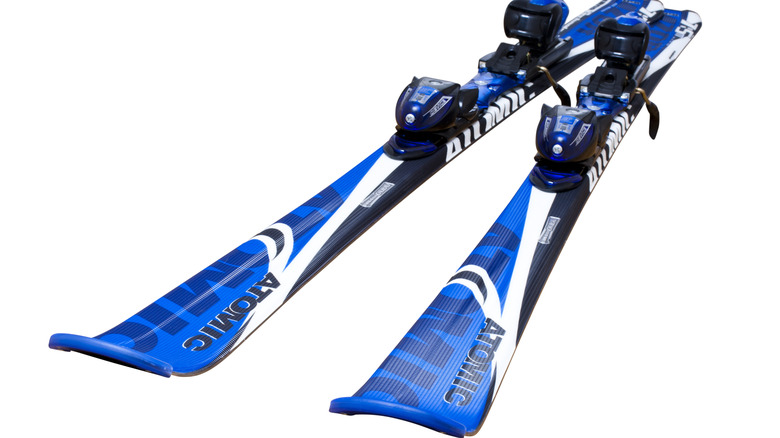
Carving skis are specially designed to help you enhance your turning ability. A carving ski showcases a slightly concaved shape as your eye moves from one end of the ski to the other. Carving skis are thinnest in the middle with a slight bend that arcs outward toward a wider front and back portion. Carving skis are also more flexible than traditional skis, allowing them to really bite into the snow as you shift your weight and look to dig the edge and glide through a turn. With carving skis strapped to your boots, you'll be able to handle an elevated pace and a slightly more athletic body position as you maneuver back and forth down the slope.
Feel the side of the ski cut the snow
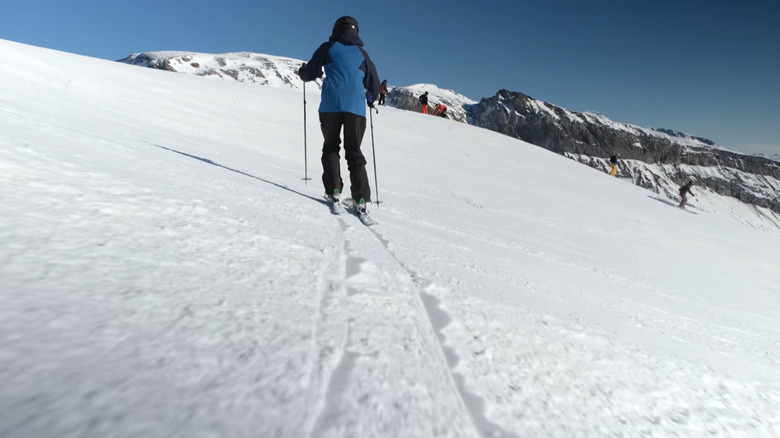
The first step in learning to carve turns on a set of skis is something that anyone can do on the slope. Your first foray into carving requires you to simply stop on the mountain and dig the edge of one ski into the snow. Either with your poles or a foot, propel yourself along perpendicular to the hill while leaning up the slope. As you do this, the edge of your ski will cut into the snow and move you at an angle heading back up the hill. Depending on how intensely you dig your edge in, this phenomenon may be slight or pronounced. Either way, you've just experienced your first carve.
The objective here isn't to launch directly into carved turning, but rather to give you the sensation of how this maneuver works. In order to perform a carved turn, you'll ultimately need to partially supinate your foot by flexing your ankle outward. During a fully carved turn, the side facing up the mountain will supinate while your lower foot pronates, flexing your ankle inward to match angles created by your skis, facing in the same direction. Both the ankle movements and the basic carve may feel strange the first time you perform them, so coming to grips with this movement before trying to enact a carved turn while moving is a critical step.
Practice with J-turns
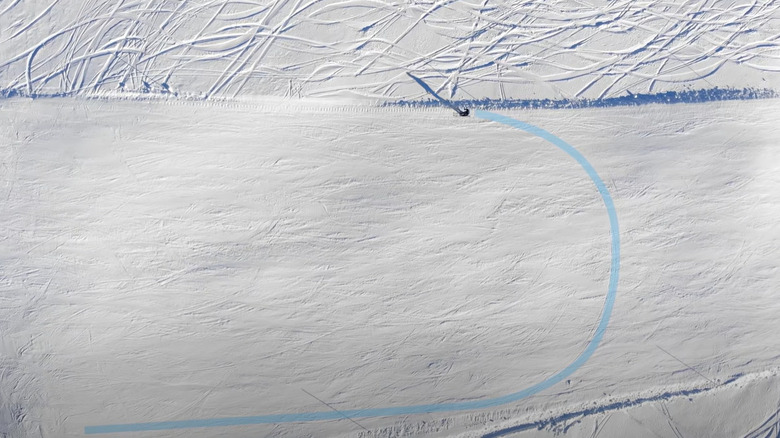
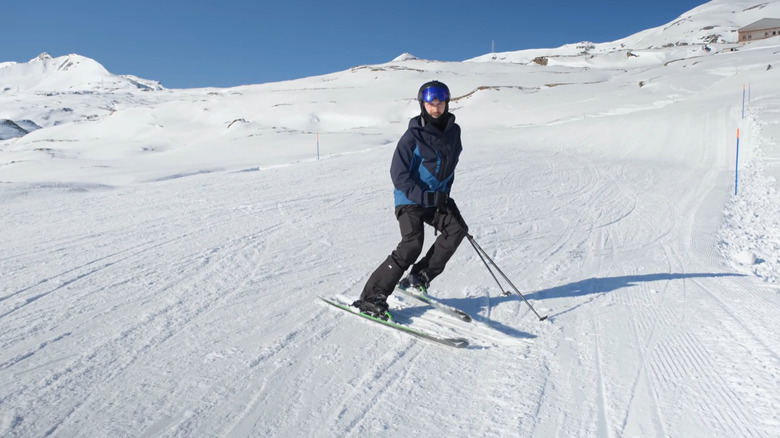
After you've established the basic movement required of your feet and ankles, it's time to practice carving in a wide, controlled motion. At this point, there's no need to attempt excessive movements or aggressive downhill speeds. A J-turn is the perfect transition between your first steps and what's to come. To execute a J-turn, you'll start on one edge of the slope and slowly make your way down the hill. When it's safe to begin turning, you'll simply begin to lean into the transition. To do this, you must shift your weight gradually toward the inside, pushing your knees and hips in the same direction you wish to turn. This maneuver will begin to slow your descent and turn your skis in toward the middle of the hill.
The objective here is to continue gradually turning your skis and body until you eventually reach the other side of the slope and turn all the way around in a 180° motion. At the end of a J-turn, you'll be facing up the slope on the other side, resulting in a J-shaped slice left in the snow if viewed from above.
Introduce the feet into your movement
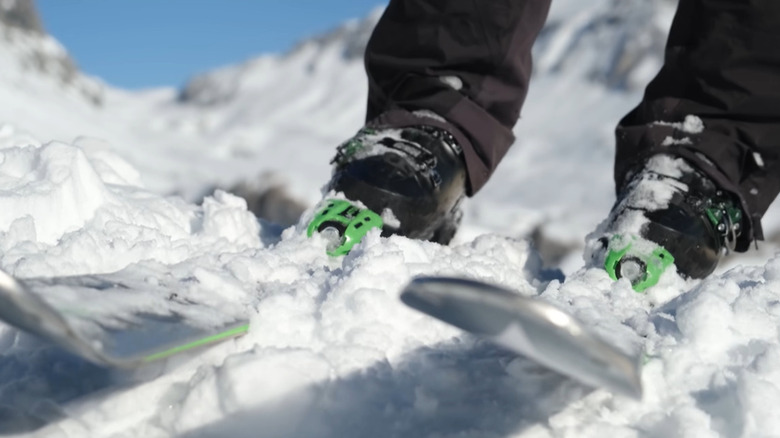
Once you become comfortable with basic J-turns, it's time to introduce your feet into the movement. During a full-speed carved turn, your feet will be responsible for initiating much of the maneuver. As a result, it's important to learn how to manipulate them in the turn as early as is comfortably possible. After you've got the basics of shifting your body weight to create the carving motion, it's time to bring your feet into the picture to control the angle of your skis with greater precision.
To get your feet involved, you'll need to stand in a skiing position and simply roll your feet back and forth. You will be looking to feel this movement through pressure in your toes. As you move to the left, your pinky toe on the left foot will come into primary contact with the ground as your big toe lifts off. The opposite will be true for your right. One thing you'll notice right away is that as you roll your ankles back and forth your hips will begin to move as well. You may not feel it in your knees just yet. But with some practice rolling your weight back and forth with these ankle movements, you're likely to begin feeling both hip action and knee bend that ultimately sync together into one fluid movement throughout the lower half of your body.
Use your ski poles to trigger foot and knee unison
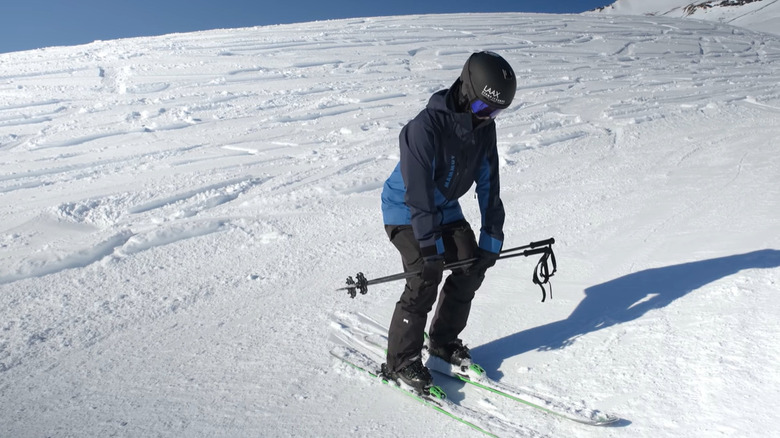
If you're having trouble feeling these joints move in unison, try grabbing one ski pole and bending down while placing it against your knees. Returning to a rough ski position while holding your pole in this manner, begin shifting your ankles and weight back and forth in the same way. With the pole placed against your knees, you offer a physical cue that can trigger better cohesion across your three joints in each leg.
To perform a solid carved turn, you'll need to establish a mind-muscle connection that brings both legs together to perform a single weight shift that isn't clunky or oddly timed. This physical trigger can help develop that connection if you're having trouble coming to grips with it on your own. In fact, even if you feel confident about the movement spending some time working this into your practice routine can help further improve your comfort level and confidence with this weight-shifting transition.
Graduate to a C-turn
After developing confidence in your ability to create a unified shift in your weight, you can start to think about executing a C-turn. C-turns are a sort of standard carving shape that you will rely on for most of your turning while skiing with this tactic. The goal of a C-turn is to quickly shift your weight toward the direction you want to begin skiing in and turn completely perpendicular to the slope before ultimately straightening out again. You'll leave tracks in the snow that roughly resemble the letter C if you perform this type of turn correctly. Essentially, you'll be traveling in a straight line, more or less, down the slope and then begin to transition your weight back and forth in a series of turns that are loosely connected to one another (perhaps directly or interspersed throughout straightaways).
To perform this type of turn, you'll need to put together all of the skills you've been practicing. First, begin to tilt your skis with your feet and shift your weight over the ski that will be higher on the hill using your hips and knees. When performed correctly, your skis will quickly start to angle up and dig into the snow as your body shifts into the turn and the ski blades carve the powder. To finish a C-turn, simply move your body back into a more straightened position with your feet coming back level and your weight shifting back over the centerline of your body.
Improve your directional transitions
To really become a pro at executing carved turns, you'll need to continue improving your ability to transition back and forth with rapid weight changes that alter your direction. A good drill to help achieve better transitions doesn't require you to be moving down the slope at all. Place yourself sideways on a flat hill so that you won't move. Then lean over to one side until you begin to fall and dig your ski poles into the ground to hold yourself up. In this position, you are placing so much pressure on the opposite ski that you may be able to lift one leg off the ground. This is the point. From here, you'll throw yourself over the other leg and prop yourself up with the poles once again.
On a run, the slope's angle and your momentum will provide the counterbalance and forces required to keep you upright. So coming to grips with the added intensity of these weight changes can help you tackle steeper hills and faster speeds when performing a carved turn in a live environment.
Learn to separate your feet for the most intense carved turns
The final stage in carving a precise turn on skis requires you to begin separating your feet. Thus far, you've likely kept your feet relatively close together as you shift your weight and initiate a direction change. But for the most intense skiing environments, you'll need to create a wider base to stay upright and repel the forces working to topple you over. As you initiate a carved turn at rapid speeds or on an advanced downhill section, you'll need to flare your forward leg out away from your body. This creates a sort of triangular base connecting your feet and hips.
To perform this type of carving, your back knee will need to bend more than your front one. Once again, to confidently perform this maneuver with your legs working in unison, you'll need to spend some time practicing the maneuver in a more controlled environment. Therefore, moving your feet slightly apart as you enter a routine carved turn can help you ramp up to the athletic demands of advanced and expert ski runs.
Things to avoid while carving
While you're establishing yourself as a more advanced skier who can handle carved turns, there are a few things you'll want to avoid. Obviously, practicing the repetitive lateral movements involved in early-stage carving requires a bit of space. You'll be moving slowly back and forth across the slope, so you won't want to practice these perpendicular transitions in heavy traffic (if you can avoid it.) If for some reason you can't get away from the pack, try to work on your carving in between groups, giving yourself ample room to confidently move back and forth across the slope while minimizing the potential for a collision.
In addition to light traffic, it's important to remember that this is a new technique that requires you to build novel muscle memory. Carved turning is the next iteration in skiing after you've mastered the skidded turn. You'll be moving your body a bit more aggressively and throwing your weight into the slicing movements. However, to successfully execute a carved turn, you'll need to build up from the basics.
A learner will set themselves up for failure if they try to master carving on a difficult or steep slope. First-timers won't be ready to handle the force that steep hills create, and a fall at speed may indeed sting a little or potentially open you up to injury. Take it slow and practice your carving on an easy slope until you work your way up to more advanced speeds and downhill forces.
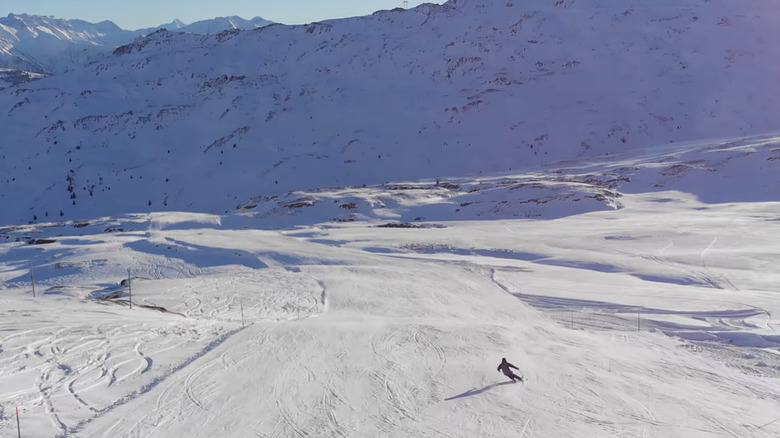
Where to practice carving
The best place to practice your new carving technique is on a green or blue slope. These beginner pistes provide ample stretches of relatively flat hills. On these flatter sections, you'll be able to really feel and activate your muscles to create the semi-rigid position required to execute a carved turn. As you become more confident, you can allow your muscle memory to take over and help you initiate this new skill. But in the early stages of learning to carve a turn, keeping your speed to a minimum and focusing on proper body position will help you maximize each maneuver.
Also, at many ski resorts, the majority of those traversing the mountain will be looking for speed and free-flowing downhill slopes. If you're skiing in a place where most of the people getting on the lift are experienced skiers, these blue and green hills are likely to be far less populated. This means that you'll have a relatively quiet place that's perfect for practicing this new skill.
For those with a little bit of athletic prowess already, picking up the basics of a carved turn might not take very long. Finding a quiet, beginner slope to hone this new talent will allow you to transition it to intermediate and perhaps even advanced hills during your time on the mountain. However, don't overdo it. Make sure you take your time in developing the basics so that you can apply these skills successfully to increasingly demanding environments.